Custom Menu Creation API Guide
The Modding.Menu namespace contains the systems for creating custom and
realistic menus is a simple and streamlined way. There are multiple ways to
add custom menus into the game, from a simple list of options to a fully
customized menu.
The IMenuMod Interface
The IMenuMod interface is used to register a custom
menu in the mod list menu. The interface should be implemented on your mod
class that also implements IMod. To use the interface
implement the GetMenuData method that
returns a list of MenuEntry structs. An example implementation is shown
below.
public class MyMod: Mod, IMenuMod
{
    private int optionOne;
    private bool optionTwo;

    // The rest of the class...

    public List<IMenuMod.MenuEntry> GetMenuData(IMenuMod.MenuEntry? toggleButtonEntry)
    {
        return new List<IMenuMod.MenuEntry>
        {
            new IMenuMod.MenuEntry {
                Name = "My First Option",
                Description = "Will be displayed in small text",
                Values = new string[] {
                    "Option 1",
                    "Option 2",
                    "Option 3"
                },
                // opt will be the index of the option that has been chosen
                Saver = opt => this.optionOne = opt,
                Loader = () => this.optionOne
            },
            new IMenuMod.MenuEntry {
                Name = "My Second Option",
                // Nothing will be displayed
                Description = null,
                Values = new string[] {
                    "Off",
                    "On"
                },
                Saver = opt => this.optionTwo = opt switch {
                    0 => false,
                    1 => true,
                    // This should never be called
                    _ => throw new InvalidOperationException()
                },
                Loader = () => this.optionTwo switch {
                    false => 0,
                    true => 1,
                }
            }
        };
    }
}
This creates a menu with two options on it. The
IMenuMod interface is very simple, but it has
limited capabilities. For more options, the ICustomMenuMod
interface provides a much more in depth api.
ICustomMenuMod and the MenuBuilder API
The main body of the menu api comes from the MenuBuilder class. This class
allows you to create and layout menus with a builder-style pattern. To start,
the MenuBuilder provides two constructors:
MenuBuilder(GameObject parent, string name): Creates a new builder that places the menu onparentwith the name of the stringname.MenuBuilder(string name): Creates a new builder with named by the stringnameand placed on theUIManager's ui canvas.
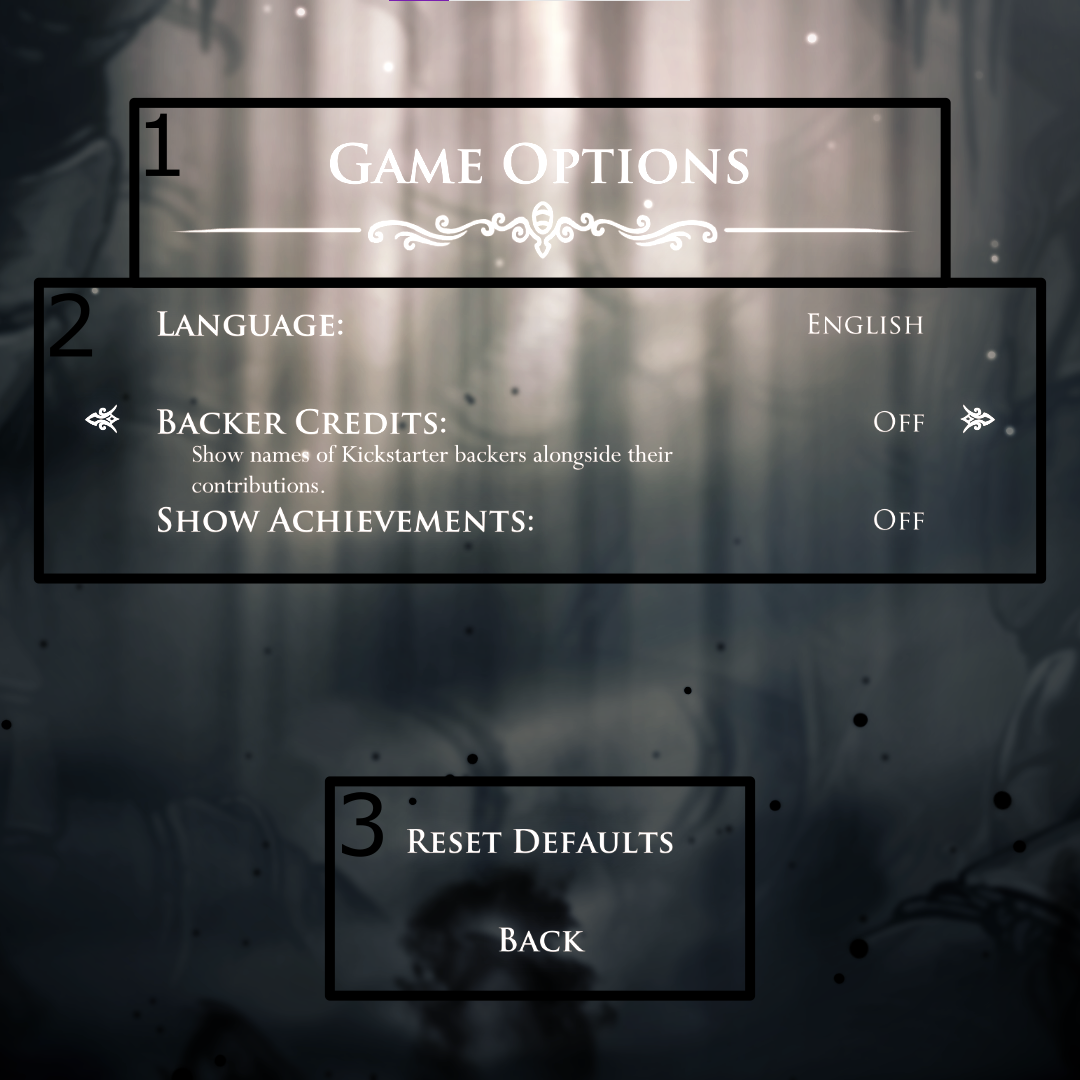
The Hollow Knight Menu Layout
The next step is to add the title and content panes for the general menu layout. The different base objects that can be added to a menu are listed here.
- The title: Contains an animated fleur that reacts to menu opening/closing, and the text of the page.
- The content pane: Contains most of the content of the menu. Should be used to organize all of the settings.
- The control buttons pane: Contains the buttons used to controls the settings. Not strictly necessary but can be used for organizational purposes.
To add these three objects, the MenuBuilder
has CreateTitle,
CreateContentPane, and
CreateControlPane which
create the respective objects. The CreateTitle
method requires a struct for the layout, and the other two just require the
size and position of the rectangle where they will be placed.
Using RelVector2 and AnchoredPosition
While Unity uses RectTransform to specify a rectangle's properties, the size
and position data is combined which makes generalizing the layout harder. For
this reason the Menu API introduces RelVector2 to define the size of a
rectangle relative to the parent, and AnchoredPosition for defining the
position of a rectangle anchored onto the parent.
A RelVector2 is essentially a combination of
two vectors. One vector (Relative)
is the fraction of the parent rectangle to "mirror". The other vector
(Delta) is a number of pixels to add to
the size. For example, if there was a
RelVector2 with
Relative being (1, 0.5) and
Delta being (0, 10), the resulting
size would be the same length as the parent, and the height would be half the
height of the parent + 10 pixels. To make a rectangle have an absolute size,
Relative should be (0, 0), then
Delta will be just the size.
An AnchoredPosition defines how a
rectangle should be positioned relative to its parent. It contains 3 vectors:
ParentAnchor,
ChildAnchor, and
Offset. the parent/child anchor
fields are essentially normalized positions on the respective rectangles, where
(0, 0) is the lower left corner and (1, 1) is the upper right corner. The
ChildAnchor will be offset
from the ParentAnchor by
the vector Offset.
Adding Content To The Menu Builder
The real bulk of the menu api is accessed through AddContent (used for the
content pane) and AddControls (used for the control buttons pane). These two
methods take an IContentLayout which determines how the items will be placed,
a callback used to edit the ContentArea, and optionally an INavigationGraph
which builds the keyboard/controller navigation data.
Using IContentLayout
The IContentLayout interface provides a method
ModifyNext(RectTransform rt)
that will edit the data to place it in a specific location. The menu api
provides a few useful content layouts that should cover most of the common
uses.
NullContentLayoutis a layout that does nothing to the layout that getspassed in. This should be used instead of
nullto prevent null dereferences.RegularGridLayoutplaces items in a grid row by row. The basic constructor requires anAnchoredPositionfor where the grid should start, aRelVector2that is the size of each grid cell, and the number of columns the grid should be. It also provides a methodCreateVerticalLayoutthat places items in a single column, top to bottom.EnumeratorLayoutapplies anIEnumeratorofAnchoredPositions to the passed inRectTransforms.SingleContentLayoutplaces the items in a single position. For more advanced use cases, implementing this interface is extremely easy usingAnchoredPosition.
The ContentArea Class
The way to add the actual menu items is through the
ContentArea class. This class just contains
the parent object to place the items on, a content layout,
and a navigation graph. The actual methods to add content are extension methods
from the classes in the Content
Folder.
As long as the using declaration for Modding.Menu is present, these methods
can
be used with . call syntax. Each method generally has two variants, one with
out parameters to return a useful component or object, and one without. For a
high level overview of the methods, the following list has a light description
of each method included, but the built in docs will provide much more detail.
AddMenuButtonadds a clickable menu button. This button has a custom submit action which can execute user defined code.AddHorizontalOptionadds an option item that can be changed with the left/right navigation keys.AddKeybindadds a keyboard keybind button. This can be used to have mappable keys in game.AddStaticPaneladds an object with a size that doesn't do anything else.AddTextPaneladds a static text label.AddImagePaneladds a predefined image to the menu.AddWrappedItemcreates a zero size wrapper that can have other items added inside of it. This should generally only be used to work with vanilla menus.
Many of these methods will require a config struct. These are found in the
Modding.Menu.Config namespace. Any "Style" structs will have some values
that are correct for vanilla hollow knight menus.
Navigation Graphs
A similar interface to [IContentLayout](xref: Modding.Menu.IContentLayout),
the INavigationGraph interface
constructs a complete and interactive navigation system of added content. The
navigation graph used can be set in two ways. The first and most common way is
with the SetDefaultNavGraph
method in MenuBuilder. The other way is to
pass a navgraph into the AddContent/AddControls method, overriding the
default navgraph that has been set. Just like the content layouts, the menu api
comes with some useful navigation graphs.
NullNavigationGraphdoes not create a the navigation graph. This should always be used instead ofnull.ChainedNavGraphis a simply circular chain style graph that loops the added menu items in a certain direction.GridNavGraphcreates the graph in a grid that loops around, starting from the top-left and going row by row.
Building the Screen
To finalize the changes to a MenuBuilder, the Build method should be
called. This builds the navigation graph and adds the component to
automatically select the first item. This method returns a MenuScreen which
can then be used with patched methods in UIManager
Adding Custom Menus With ICustomMenuMod
Like IMenuMod, the interfaace
ICustomMenuMod requires implementation of a single
method GetMenuScreen which returns the built menu screen. This method
recieves the MenuScreen of the mod menu, which should be used to exit back to
that menu.
Building Menus Outside of the Mod List Menu
Because of the way the UIManager's lifecycle works, the menu will have to be
created each time a new UIManager is created. The modding API adds an event
called EditMenus that should be used to create a menu. No code using the menu
api should be run outside of the callbacks added to this event, as on a save
and quit, the UIManager will be reset. This event will call the passed in
callback when its being added if the UIManager has already started.